Basic Parts List.
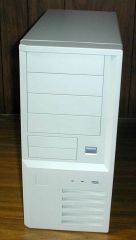
1. ATX case with 300+ watt power supply.
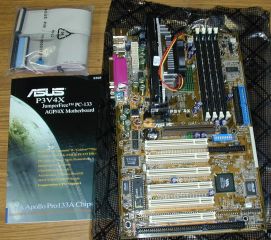
2. ATX main board
3. Memory for ATX main board
4. Hard drive.
5. CD Rom Drive.
6. Floppy drive.
7. Video Card.
8. Cables for drives.
9. Keyboard
10. Mouse
12. Monitor.
Assembly
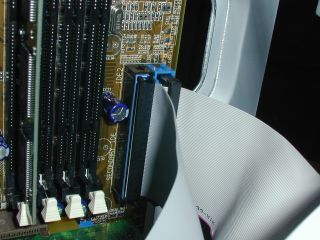
1. Start with the main board. -------- 2. Install SDRAM memory, note notches in modual and slot so it can't be installed wrong.
 ----
----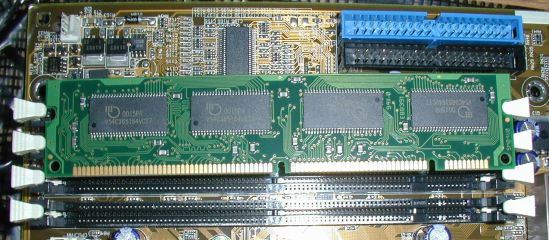
3. Make sure leavers lock modual in place.

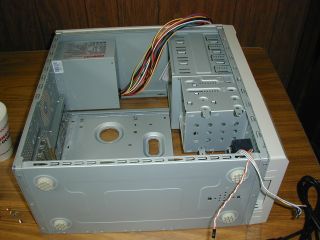
4. Open the case remove hardware, place case on side with wires out of way.
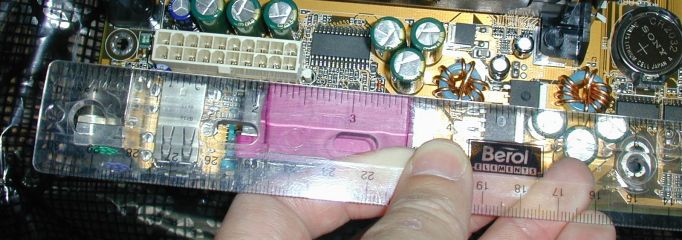
5. Measure the distance between mounting holes on the main board.
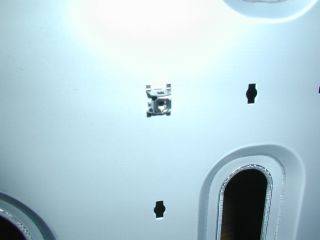
6. Use these measurements to place main board standoffs inside the case.

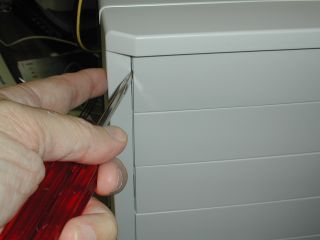
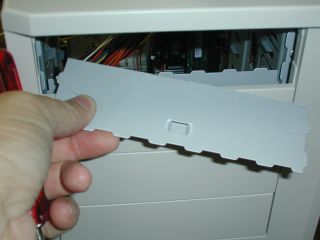
7. Remove all covers in the back of the case that would cover main board sockets.
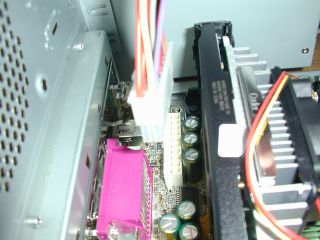
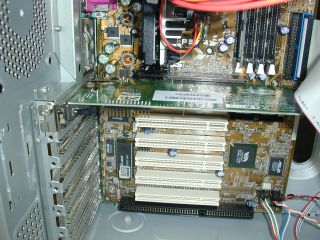
8. Place the main board in the case, don't tighten screws until all of them are in. Do not over tighten screws main board is fragile and will break easily.

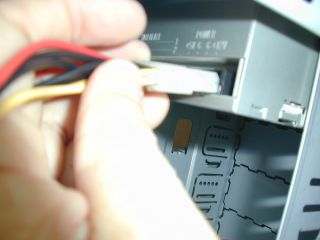
9. Conect the power connector.
10. Connect the internal case wiring for power light, power switch, reset button, etc.
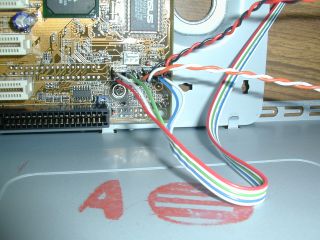
11. Conect the IDE drive cables and floppy drive cable.
12. Remove drive bay covers and shielding to install CD Rom, Hard Drive, Floppy, Etc.
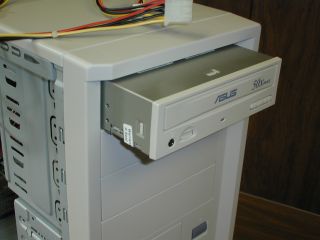
13. Install CD Rom, Floppy and Hard Drive. Connect data and power cables.
14. Plug in the video card.
15. Conect the keyboard, mouse, power cord, and monitor.
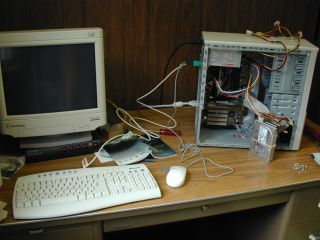
16. Power up the computer. Seeing the CMOS setup screen is a good sign the machine is working properly. Set up the CMOS.
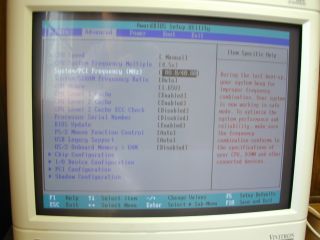
17. If the fans don't run and/or the monitor remains blank, re check your connections.
Next>